Installation
Windows
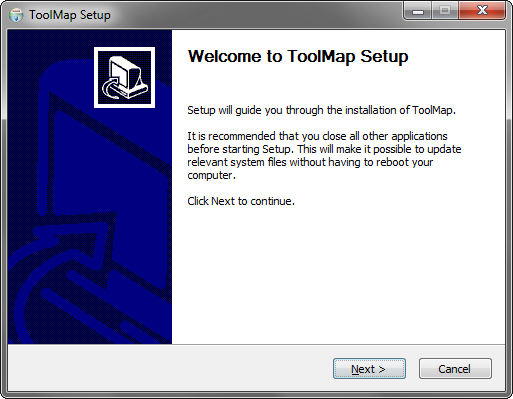
The installation of ToolMap is rather simple. First you have to download the windows installer. It can be found on our web site: www.toolmap.ch. The setup wizard will then guide you through the installation process.
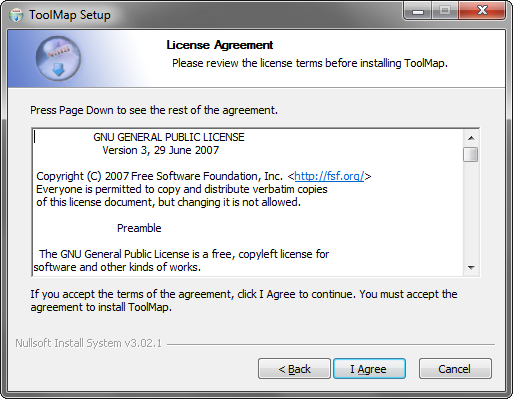
Once you activated the next step, the installer will ask you to accept the license agreement. ToolMap is released under the GNU General public license. More information about this license could be found here
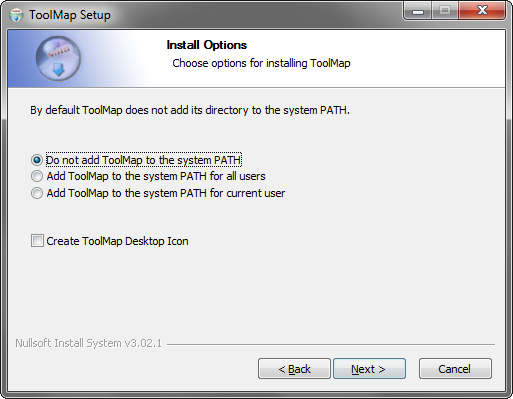
Once you activated the next step, the installer will ask you if you want to add ToolMap to the path. in most cases, the default value is appropriate. Here you can also choose to add the ToolMap icon to the desktop.
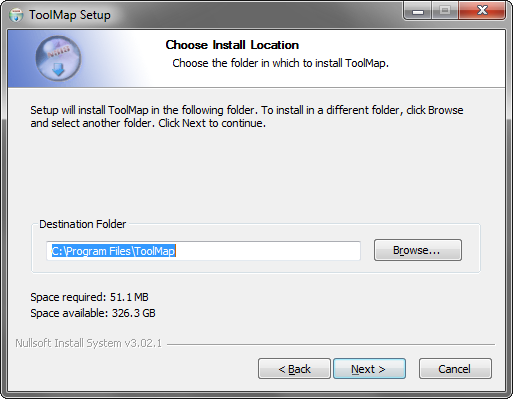
Once you have activated the next step, the wizard will generate a default destination folder for the installation. You can, of course, change the destination folder.
Note
If you don’t have admin access to your computer, the destination folder should be changed to a folder in which you have write permission such as C:\Users\username\AppData\Local\ToolMap
If you click on the install button, the installation will begin. Otherwise you can go back to change settings or simply cancel the operation. If you decided to launch the installation, a progress window will pop up. The installation process should be pretty fast.
ToolMap can now be launched using either the desktop icon or the menu entry located in
Silent Installation
ToolMap may also be installed without requiring the user to select options or click next. This mode, also called unattended installation, may be particularly useful for system administrator trying to deploy ToolMap on multiple computers without the hassle to go through all the wizard pages.
Installing
The following command line may be used for the silent installation of ToolMap:
ToolMap-2.6.1992-win64.exe /S /D=C:\Program Files\ToolMap”
/S: inform the installer to be silent
/D: Path for installing ToolMap
Uninstalling
The following command line may be used for uninstalling ToolMap silently:
“C:\Program File\ToolMap2\Uninstall.exe” /S
Mac OSX
Download the ToolMap’s .DMG file from www.toolmap.ch and then double-click on it. A new Finder window similar to the one illustrated bellow should appear.
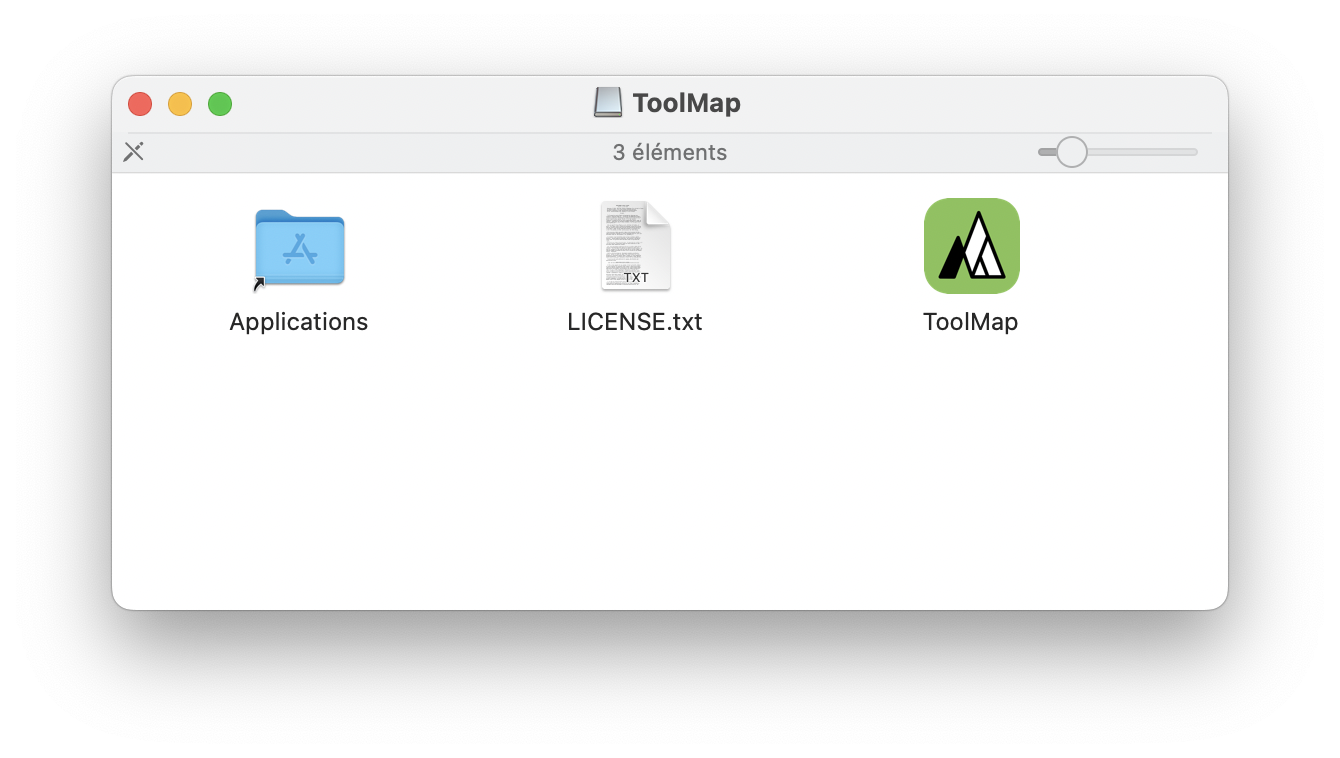
Drag the ToolMap icon into the “Applications” folder to install ToolMap. Once ToolMap is installed, you can safely eject it’s disk image. Click on the ToolMap disk icon on the Desktop and then press CMD-E.
Delete the .DMG file by dragging it to the trash.
Warning
ToolMap is not signed, therefore you need to open the Terminal and run the following command to allow ToolMap to run:
xattr -rc /Applications/ToolMap.app
Because ToolMap does not come from the Apple store and is therefore not signed, it is necessary to proceed as follows when you first open it:
Open System Preferences.
Go to Security & Privacy and select the General tab.
If you’ve been blocked from opening ToolMap within the past hour, this page will give you the option to override this by clicking the temporary button Open Anyway.
You’ll be asked one more time if you’re sure, but clicking Open will run the app.
Linux
Binaries for Linux are currently not distributed. But ToolMap can easily be compiled for this platform.
Install cmake (https://cmake.org)
Install conan (https://docs.conan.io/en/latest/installation.html)
Download the ToolMap source code from www.toolmap.ch
Create a “bin” directory inside the toolmap source code folder
From this directory run the following commands
conan install ..
conan build ..